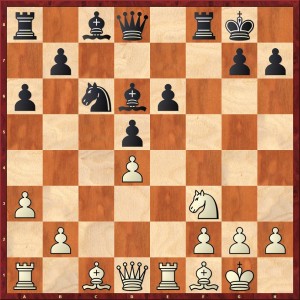
In the diagram White has an outpost on e5, but Ne5 can always be met by …Nxe5 and after recapturing with the pawn, White’s outpost is gone. White needs to bring another piece to bear on e5, so White to move would play 1.Bg5 and follow it up with Bh4 and Bg3. If on the other hand Black is on the move, he would seek to prevent this with 1…h6, or a more active solution 2…Qe8( so as to meet Bg5 with 2…Qh5! threatening Rxf3) or 1…Qb6. Either move gives Black a fine position.
If you are unable to cover your opponent’s outpost, then extremely active harassing tactics are needed.
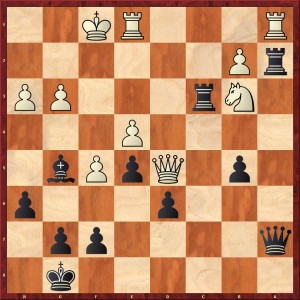
The diagram is from Unzicker – Fischer, Varna 1962. If you are unable to cover your opponent’s outpost, then extremely active harassing tactics are needed. In this position the White knight is at least four moves away from reaching d5, this gives Black some breathing room to prevent it, since after the White knight reaches d5 White is lost.
1… Ra4 Immobilizing the knight. 2. c3 Qa6 3. h3? Rc8 4. Rfe1 h6 5. Kh2 Bg5 6. g3 Qa7 7. Kg2 Ra2 8. Kf1 Rxc3! White resigns, as after 9.Rxa2 (9.bxc3 Qf2#) Rf3+ 10.Ke2 Rf2+ 11.Kd1 Qxa2 his position is wrecked.
The lessons to be learned here is that structure alone is not quite everything. The pieces must be able to coordinate with the pawn structure.
From Stean’s Simple Chess

